

An automatic LED light is one of the easiest school projects, because it needs only a few parts and shows a clear working idea. But many students lose time because they do not know the exact automatic LED light project components to buy. Keep this guide handy, as it lists every part, explains the circuit and shows how to build it. Once you know the automatic LED light project components, shopping becomes quick.
Automatic LED Light Project Components List for Students
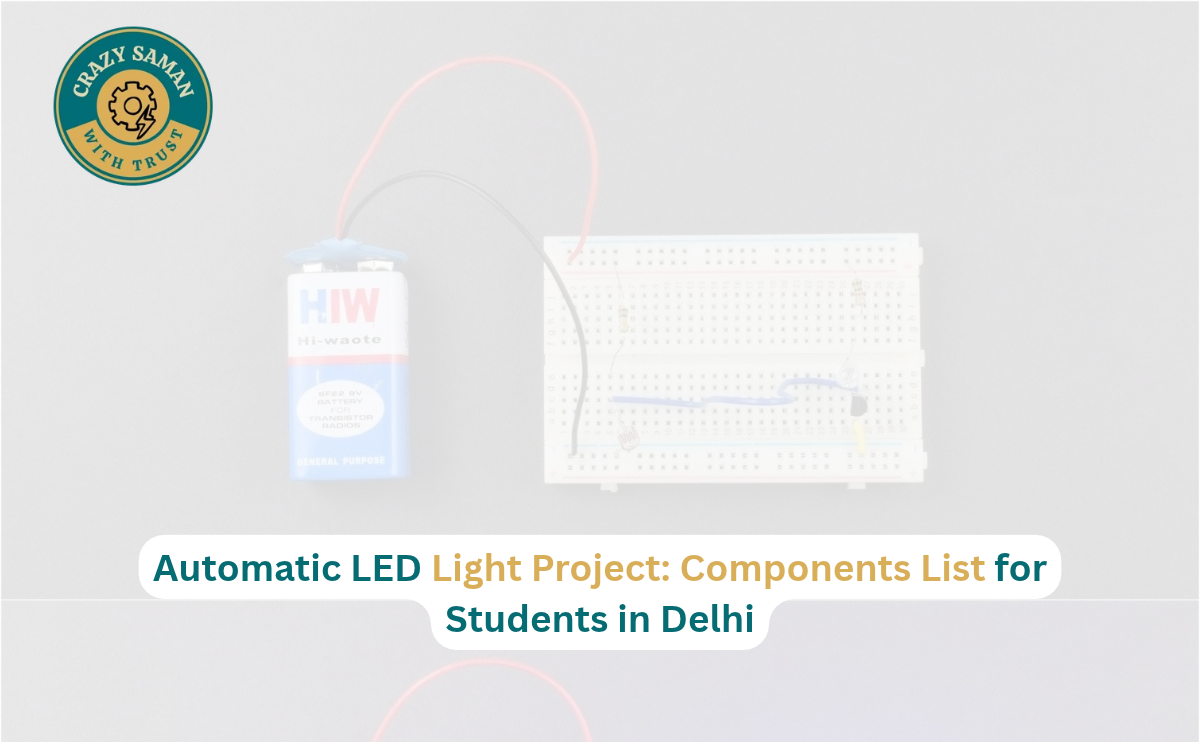
Here are the automatic LED light project components most students need:
- LDR (light dependent resistor)
- BC547 NPN transistor
- 10k ohm resistor (or a 10k preset to adjust sensitivity)
- 330 ohm resistor for the LED
- 5 mm LED, any colour
- Breadboard
- Jumper wires
- 9V battery with snap connector, or a 5V supply
These automatic LED light project components cost very little, and the same list works for a class project or an exhibition.
How Does an Automatic LED Light Project Work?
The circuit switches an LED on in the dark and off in light. An LDR changes its resistance with light: it is low in bright light and very high in darkness. With a resistor, it forms a voltage divider that feeds the base of a transistor. In daylight the base voltage stays low and the LED is off. When light drops, the base voltage rises, the transistor switches on and the LED glows. This is the idea behind every set of automatic LED light project components.
Automatic Light Circuit Components and Their Uses
Each part has a clear job:
- LDR: senses the light level
- Transistor: works as a switch
- 10k resistor: sets the voltage at the base
- 330 ohm resistor: protects the LED from too much current
- LED: gives the light output
- Battery: powers the circuit
Knowing these automatic light circuit components helps you explain the project confidently in your viva.
How to Use an LDR Sensor for Automatic Lights?
The LDR is the most important of all automatic LED light project components. Connect it between the transistor base and the negative rail, and the 10k resistor between the positive rail and the base. Face the LDR towards room light and away from the LED, otherwise the LED’s own glow will switch the circuit off. Using an LDR sensor for automatic lights is simple once you remember that more light means lower resistance. A 10k preset instead of a fixed resistor lets you tune how dark it must be before the LED turns on.
LED Light School Project Parts Required for Making the Circuit
Before buying, check your LED light school project parts against this list: one LDR, one BC547, two resistors, one LED, a breadboard, jumper wires and a battery. Buy a spare LED and transistor too, since one wrong connection can damage a part. Good LED light school project parts are cheap, so you do not need an expensive kit. The same automatic LED light project components can later be reused for a night lamp or a street light model.
Transistor Circuit Components for Automatic LED Light Projects
Among all automatic LED light project components, the transistor does the heavy work, because an LDR alone cannot supply enough current for an LED. The BC547 is popular in schools. Hold it with the flat side facing you and the legs down: collector is on the left, base in the middle and emitter on the right (confirm with your transistor’s datasheet). The other transistor circuit components are the base resistor and the LED resistor. Choosing the right transistor circuit components keeps the LED bright and the circuit safe.
Breadboard for LED Projects: Circuit Connections and Setup
A solderless breadboard lets you build and change the circuit without soldering. A breadboard for LED projects is ideal while you are testing, because parts can be moved easily. Use the top rails for supply, red wire for positive and black for negative. Place the LED with its longer leg towards the positive side. All automatic LED light project components fit comfortably on a half-size breadboard, and jumper wires keep the links neat.
How to Make an Automatic LED Light Project Step by Step?
- Fix the BC547 on the breadboard.
- Connect the emitter to the negative rail.
- Connect the 10k resistor from the positive rail to the base.
- Connect the LDR from the base to the negative rail.
- Connect the 330 ohm resistor from the positive rail to the LED’s longer leg, and the LED’s shorter leg to the collector.
- Attach the battery and cover the LDR with your hand. The LED should glow.
If it does not work, check the transistor legs and LED direction first. Collecting all automatic LED light project components before you start saves a lot of time.
Electronics Project Components in Delhi for School Students – CRAZY SAMAN
Looking for electronics project components in Delhi for your school work? CRAZY SAMAN offers Arduino boards, sensors, jumper wires, breadboards, DC motors and electronic modules for school projects, science exhibitions, robotics and DIY experiments. Customers in nearby areas of Sultanpuri, Delhi can ask about local delivery through Porter, subject to availability and delivery charges. You can also call 9289245581 in advance to confirm stock and collect your order from our location. We aim to keep prices competitive for students, parents, teachers and hobbyists, and you are welcome to compare them with Amazon, Flipkart, Meesho and other platforms before buying. Browse our products online, check specifications and contact CRAZY SAMAN for project needs, bulk orders, pricing and delivery. Send us your list of automatic LED light project components to confirm availability of LDRs, transistors, resistors and LEDs.
Electronic Components for Science Exhibition and School Projects
This project is a great exhibition idea because it is simple, safe and easy to explain. It shows a sensor, a switch and an output in one circuit, which teachers like. Mount the circuit on a board, label each part and add a small chart for a neat display. Many electronic components for science exhibition models overlap, so the parts you buy now can be reused for a street light model or a simple alarm.
Where to Buy Automatic LED Light Project Components in Delhi?
Students in Delhi can buy online or visit a nearby shop. Online is convenient, but delivery can take days and one missing part can delay your submission. A local shop lets you confirm things quickly. Whichever you choose, buy all automatic LED light project components together and check the transistor type and resistor values. Compare prices and keep a spare LED. If you are near Sultanpuri, contact CRAZY SAMAN to confirm stock before you travel.
Frequently Asked Questions About Automatic LED Light Projects
What are the basic automatic LED light project components?
An LDR, BC547 transistor, two resistors, an LED, a breadboard, jumper wires and a battery.
How much do the components cost?
The automatic LED light project components are budget-friendly, and prices vary by shop, so compare before buying.
Can I use another transistor?
Yes, any similar NPN transistor such as 2N2222 can work, but check its pin layout first.
Why does my LED flicker?
Light from the LED may be falling on the LDR. Move them apart.
Which battery should I use?
A 9V battery or a 5V supply works, as long as the LED resistor is fitted.
Where can I get these parts in Delhi?
Contact CRAZY SAMAN in Sultanpuri to confirm availability of the automatic LED light project components and ask about delivery or collection.
📦 Order Your Components Today
Crazy Saman — Delhi’s Best Electronic Components Store
🌐 Website: crazysaman.com 📞 Call / WhatsApp: 9289245581 📍 Location: Delhi, India — Pan-India Delivery Available ⏰ Business Hours: Monday to Saturday | 10:00 AM – 7:00 PM