

Every Arduino project starts with one question: how do I connect these parts without soldering? The answer is a breadboard and a few jumper wires. Understanding breadboard and jumper wires uses is the first step for any student, hobbyist or school project builder. This guide explains breadboard and jumper wires uses in simple words, covers the main wire types and shows you how to buy the right ones. Once you know the basic breadboard and jumper wires uses, building circuits becomes much easier.
What Are Breadboard and Jumper Wires and How Do They Work?
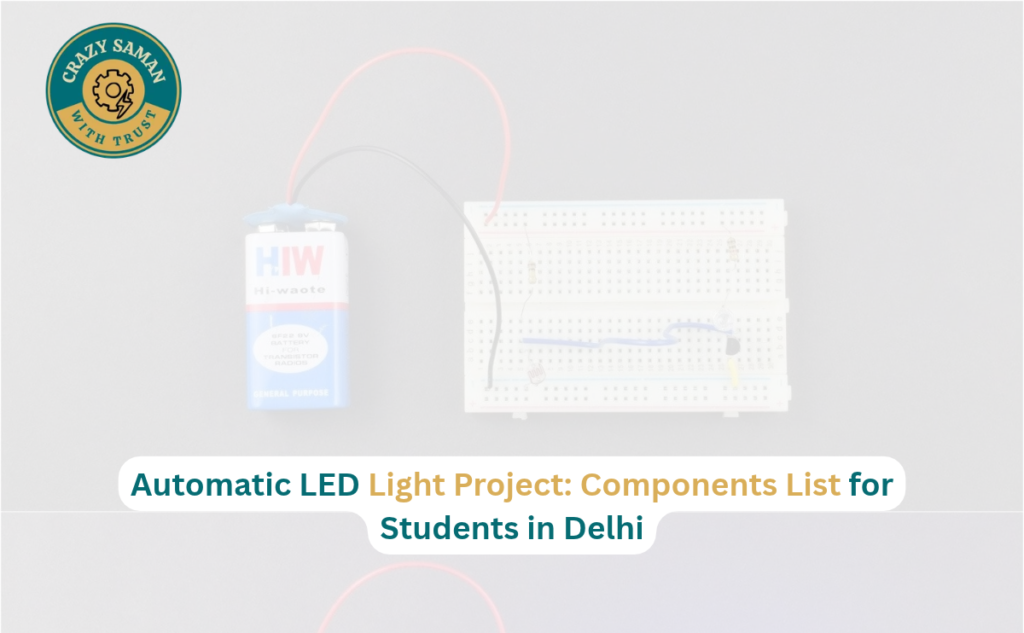
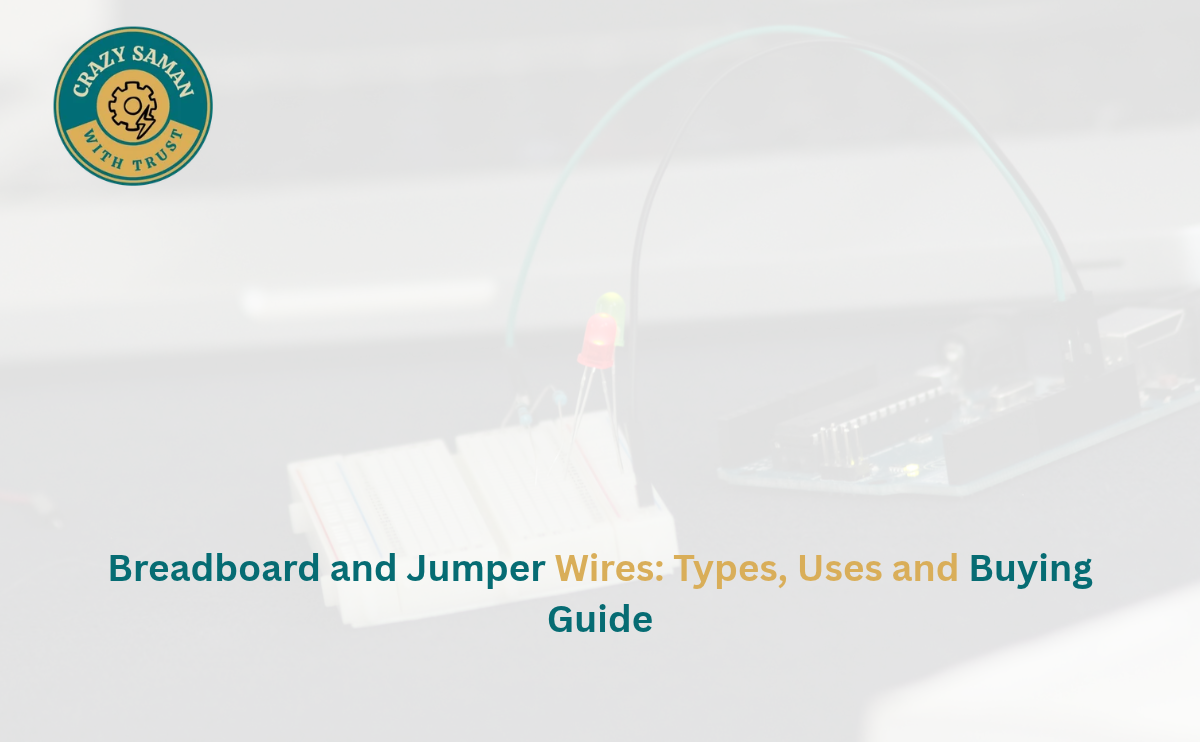
A breadboard is a plastic board with rows of small holes. Under the surface, metal strips connect certain holes together, so you can push component legs in and form a circuit without solder. The two outer rails are normally used for power (+) and ground (−), while the middle area holds your components. A gap in the centre separates the two halves, which is where ICs sit.
Jumper wires are short wires with pins or sockets on the ends. They link the breadboard to an Arduino, a sensor or a module. Together they make a temporary circuit you can change in seconds, which explains most breadboard and jumper wires uses in classrooms and workshops.
Breadboard and Jumper Wires Uses in Electronics Projects
The most common breadboard and jumper wires uses include:
- Testing a circuit idea before making it permanent
- Connecting sensors, such as ultrasonic or IR sensors, to an Arduino
- Powering LEDs, buzzers and small motors
- Building school science exhibition models
- Learning basic electronics without soldering
Because nothing is fixed, a wrong connection is easy to correct. That is why teachers treat breadboard and jumper wires uses as the starting point of practical electronics. A breadboard for electronics projects is also reusable, so one board can serve hundreds of experiments.
Breadboard for Beginners: How to Build Your First Circuit
A breadboard for beginners works best with one simple circuit: an LED that lights up.
- Place the breadboard flat and find the power rails.
- Use two jumper wires to connect the Arduino 5V pin to the + rail and GND to the − rail.
- Connect one end of a 220-ohm resistor to the + rail and the other end to the LED’s longer leg.
- Connect the LED’s shorter leg to the − rail with a jumper wire.
- Power the Arduino. The LED should glow.
When this works, you already understand the idea behind most breadboard and jumper wires uses.
Types of Jumper Wires Used in Electronics Projects
There are three main types of jumper wires, and knowing them saves you from buying the wrong pack:
- Male to male: pins on both ends
- Male to female: a pin on one end, a socket on the other
- Female to female: sockets on both ends
Packs usually come in 10 cm, 20 cm and 30 cm lengths and in different colours, which help you track power, ground and signal lines. Choosing the right types of jumper wires keeps your circuit neat, and it is a key part of breadboard and jumper wires uses in Arduino work.
Male to Male Jumper Wires: Uses and Applications
Male to male jumper wires are the most used type. Both ends are pins, so they fit straight into breadboard holes. Use them to connect two points on a breadboard, link the power rails to an Arduino header, or wire buttons and LEDs. If your circuit is built fully on the breadboard, male to male jumper wires are the ones you will reach for first. This is one of the core breadboard and jumper wires uses for beginners.
Male to Female Jumper Wires: Uses and Applications
Male to female jumper wires have a pin on one end and a socket on the other. The socket slips onto the pins of a sensor, display or module, while the pin end goes into the breadboard or Arduino. They suit ultrasonic sensors, OLED displays, Bluetooth modules and servo motors. Male to female jumper wires help whenever a module has pins sticking out and cannot be plugged into the breadboard directly. They show how flexible breadboard and jumper wires uses can be.
How to Choose the Right Breadboard for Electronics Projects
Check these points before buying a breadboard for electronics projects:
- Size: 400-point boards suit small circuits, while 830-point boards give more room for Arduino builds
- Quality: contacts should grip component legs firmly
- Power rails: check whether they run continuously or are split in the middle
- Markings: clear row and column numbers make wiring easier
- Adhesive back: useful for fixing the board to a base
For school projects, a half-size or full-size board is enough. Think about your planned breadboard and jumper wires uses, not just the price.
How to Choose the Right Jumper Wires for Your Project
Match the wire to the connection. Use male to male jumper wires for links on the breadboard, and male to female jumper wires for modules and sensors. Check the length too, because short wires make wiring tight and long ones create a tangle. Look for good insulation, firm crimps and flexible copper that does not snap after repeated bending. A mixed pack of all three types is usually the best value for students, since most breadboard and jumper wires uses depend on a solid connection.
Common Mistakes to Avoid When Using Breadboards and Jumper Wires
- Reversing the LED polarity or skipping the resistor
- Connecting power and ground the wrong way, which can damage parts
- Ignoring split power rails on long breadboards
- Forcing thick component legs into holes, which loosens the contacts
- Using old jumper wires with loose ends
- Leaving wires messy, which makes mistakes hard to find
Avoiding these errors keeps breadboard and jumper wires uses safe and your circuits reliable. Remember that a breadboard is for low-voltage learning only, never for mains power.
Looking for a breadboard, jumper wires or other parts for your school project? CRAZY SAMAN stocks Arduino boards, sensors, jumper wires, breadboards, DC motors and electronic modules for school projects, science exhibitions, robotics and DIY experiments. Customers near Sultanpuri, Delhi can ask about local delivery through Porter, depending on availability and delivery charges. You can also call ahead to confirm stock and collect from our location. We aim to keep prices competitive, so students, parents and teachers can find suitable products within budget, and you are free to compare with Amazon, Flipkart, Meesho and other platforms before buying. Contact CRAZY SAMAN to discuss your project needs, bulk orders, pricing and delivery.
📦 Order Your Components Today
Crazy Saman — Delhi’s Best Electronic Components Store
🌐 Website: crazysaman.com 📞 Call / WhatsApp: 9289245581 📍 Location: Delhi, India — Pan-India Delivery Available ⏰ Business Hours: Monday to Saturday | 10:00 AM – 7:00 PM